구글 클라우드(GCP)로 웹서버, 서버 배포하기
✔ 구글 클라우드(Google Cloud Platform)로 배포하기
구글 클라우드 배포
GCP에서는 Paas 서비스인 App Engine과 Iaas 서비스인 Compute Engine을 이용하여 배포를 할 수 있다.
1. App Engine
웹서버를 배포하기 적합하고 app.yaml 파일을 이용하여 배포 환경을 핸들링 할 수 있다.
1-1. 프로젝트 생성
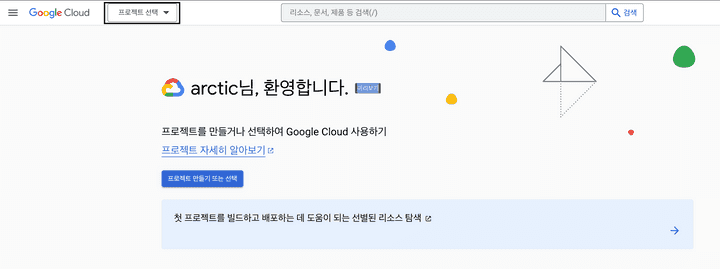
로그인 후 프로젝트를 생성한다.
1-2. 앱 만들기
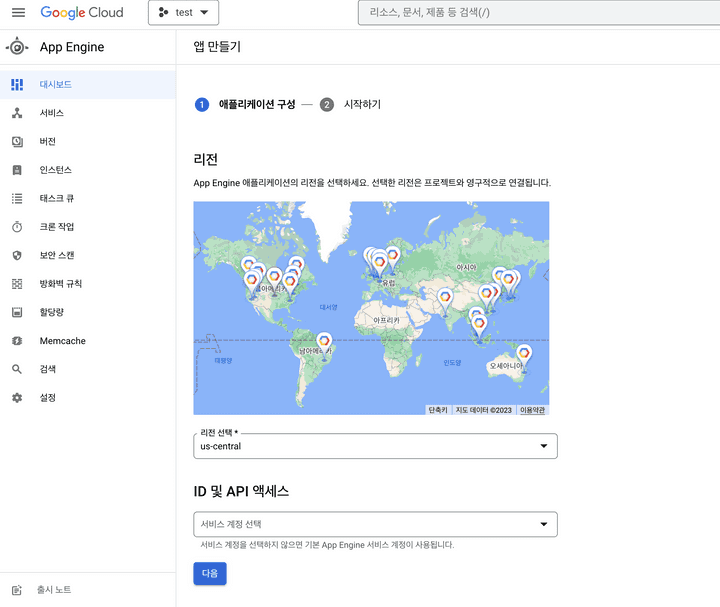
App Engine 메뉴에서 애플리케이션을 생성한다.
리전은 한국 서버인 asia-northeast3를 선택한다.
1-3. Google Cloud SDK 설치 및 gcloud 사용
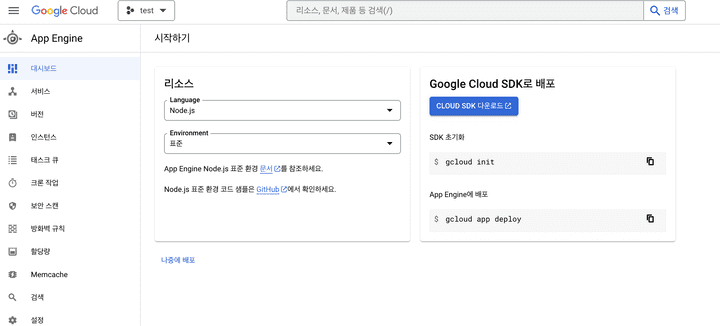
Google Colud SDK 다운로드 후 터미널을 통해 배포할 프로젝트의 디렉토리에서 Configuration을 설정한다.
> gcloud init

Welcome! This command will take you through the configuration of gcloud.

Settings from your current configuration [기존 프로젝트] are:
core:
  account: vbn0213@gmail.com
  disable_usage_reporting: 'False'
  project: 기존 프로젝트

Pick configuration to use:
 [1] Re-initialize this configuration [기존 프로젝트] with new settings
 [2] Create a new configuration
 [3] Switch to and re-initialize existing configuration: [default]
 [4] Switch to and re-initialize existing configuration: [기존 프로젝트]
Please enter your numeric choice:  2 # configuration 생성

Enter configuration name. Names start with a lower case letter and contain only lower case letters a-z, digits 0-9, and hyphens '-':  test # configuration 이름 지정
Your current configuration has been set to: [test]

You can skip diagnostics next time by using the following flag:
  gcloud init --skip-diagnostics

Network diagnostic detects and fixes local network connection issues.
Checking network connection...done.
Reachability Check passed.
Network diagnostic passed (1/1 checks passed).

Choose the account you would like to use to perform operations for this configuration:
 [1] vbn0213@gmail.com
 [2] Log in with a new account
Please enter your numeric choice:  1 # 이메일 선택

You are logged in as: [vbn0213@gmail.com]

Pick cloud project to use:
 [1] 프로젝트1-ID
 [2] 프로젝트2-ID
 [3] 프로젝트3-ID
 [4] 프로젝트4-ID
 [5] 프로젝트5-ID
 [6] Enter a project ID
 [7] Create a new project
Please enter numeric choice or text value (must exactly match list item):  6
# 생성 되어있는 프로젝트를 선택하거나 아래와 같이 ID를 직접 입력해도 된다.
# ID는 프로젝트 선택 모달 팝업을 통해 쉽게 확인 가능

Enter project ID you would like to use:  프로젝트-ID
Your current project has been set to: [프로젝트-ID].
...
기존 프로젝트가 있을 경우 위 처럼 출력되는데, 배포할 프로젝트의 환경을 만들어주면 된다.
# app.yaml
# create-react-app으로 생성한 프로젝트 예시
# 빌드 했을 때의 디렉토리가 build이므로 아래와 같이 설정

runtime: nodejs16
env: standard

handlers:
  - url: /static
    static_dir: build/static

  - url: /(.*\.(json|ico))$
    static_files: build/\1
    upload: build/.*\.(json|ico)$

  - url: /
    static_files: build/index.html
    upload: build/index.html

  - url: /.*
    static_files: build/index.html
    upload: build/index.html

automatic_scaling:
  target_cpu_utilization: 0.65
  min_instances: 1
  max_instances: 5
프로젝트의 루트 디렉토리에 app.yaml 파일을 생성하여 위와 같이 배포 환경에 대한 설정을 한다.
> gcloud app deploy

Services to deploy: ...

# 설정이 맞으면 Y
Do you want to continue (Y/n)?  Y

Beginning deployment of service [default]...
╔════════════════════════════════════════════════════════════╗
╠═ Uploading 26 files to Google Cloud Storage               ═╣
╚════════════════════════════════════════════════════════════╝
File upload done.
Updating service [default]...⠼
gcloud app deploy 명령어를 통해 배포를 진행하고 배포가 완료될 때 까지 기다린다.
배포 완료 후, gcloud app browse 명령어로 배포된 것을 확인할 수 있다.
2. Compute Engine
OS 환경을 제공 받아 웹서버와 서버의 환경을 직접 구축할 수 있다.
2-1. VM 인스턴스 생성
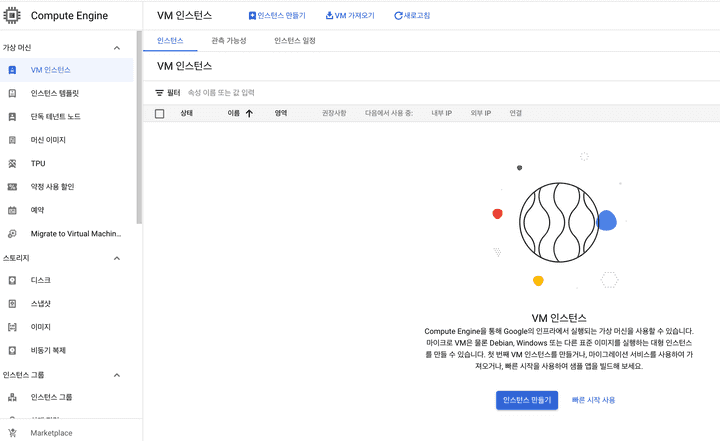

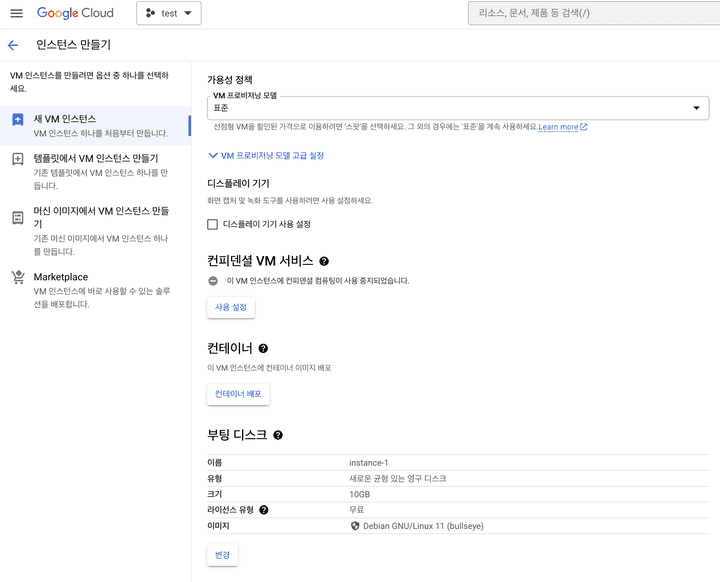
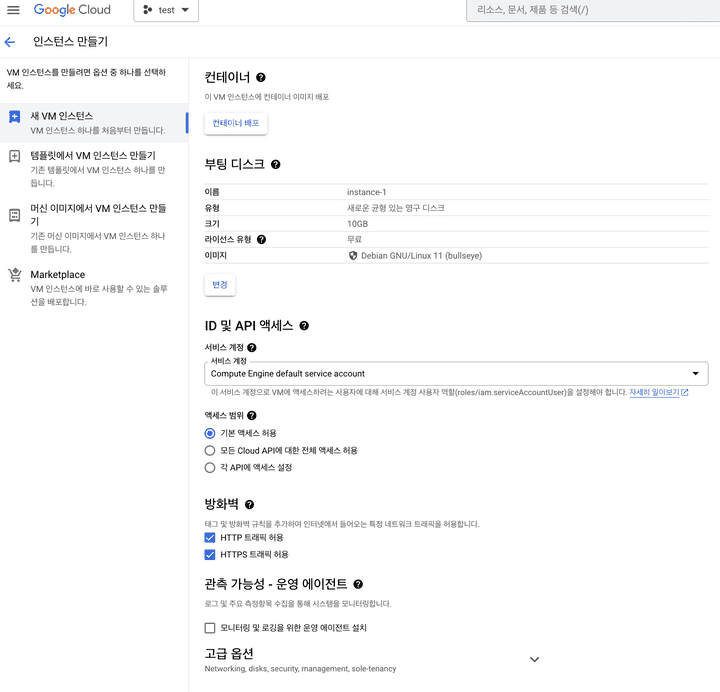
다음과 같이 환경에 맞게 인스턴스를 구성한다.
2-2. SSH 접속
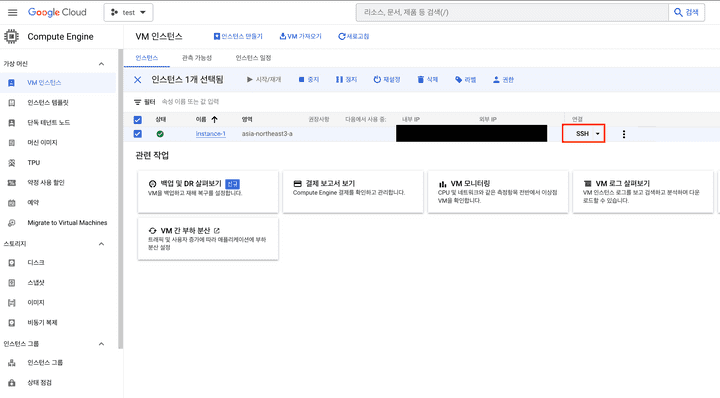
SSH를 다른 프로그램으로 접속하지 않고 위와 같이 바로 접속할 수도 있다.
하지만 SFTP가 사용 불가능하기 때문에 필요 여부에 따라 판단하면 된다.
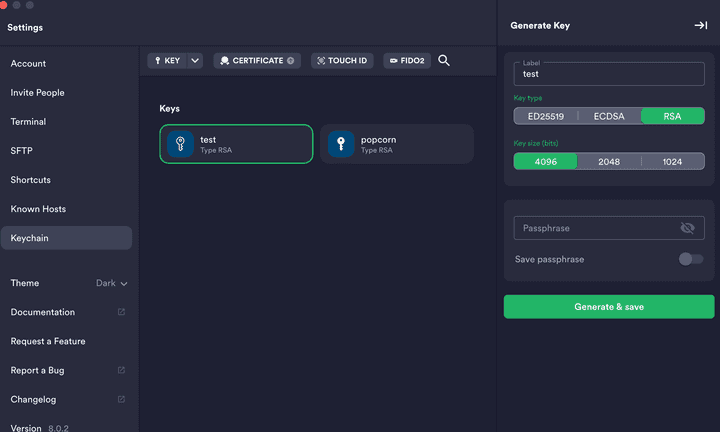
ssh 환경에 접속할 프로그램으로 Keychain을 RSA 타입으로 생성한다. (위는 Termius 프로그램)
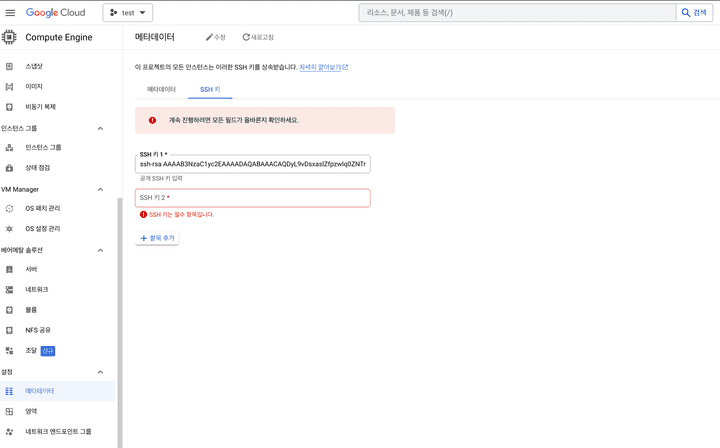
public key를 복사하여 Compute Engine의 메타데이터의 SSH키로 추가한다.
key의 맨 마지막 부분에 접속할 hostname을 적는다
ex) ssh-rsa asdasd == test
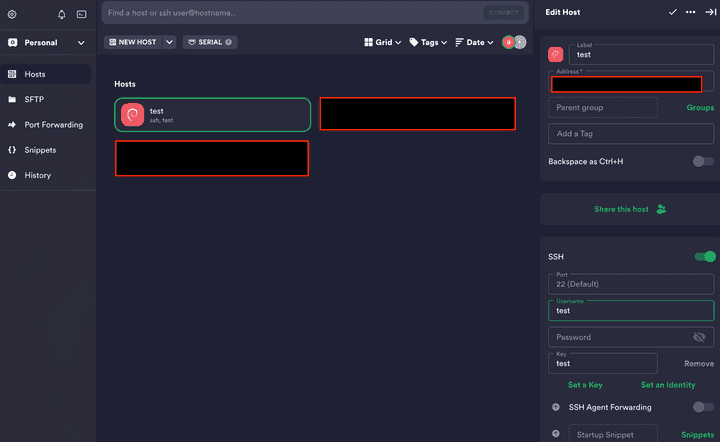
위와 같이 key 추가와 함께 접속 정보를 입력한다.
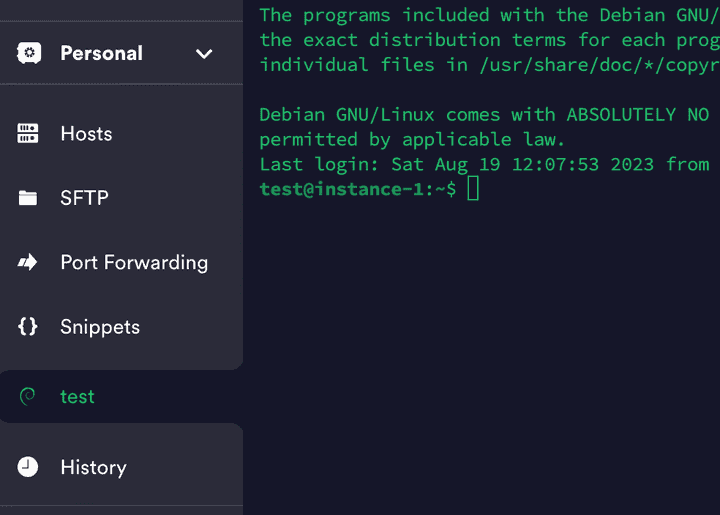
접속 성공. SFTP도 동일하게 추가해주고 웹서버, 서버를 구축한다.